How to Keep Handmade Soap Dry in Humid Weather: 7 Simple Tips
-
Posted by
Allison Savino
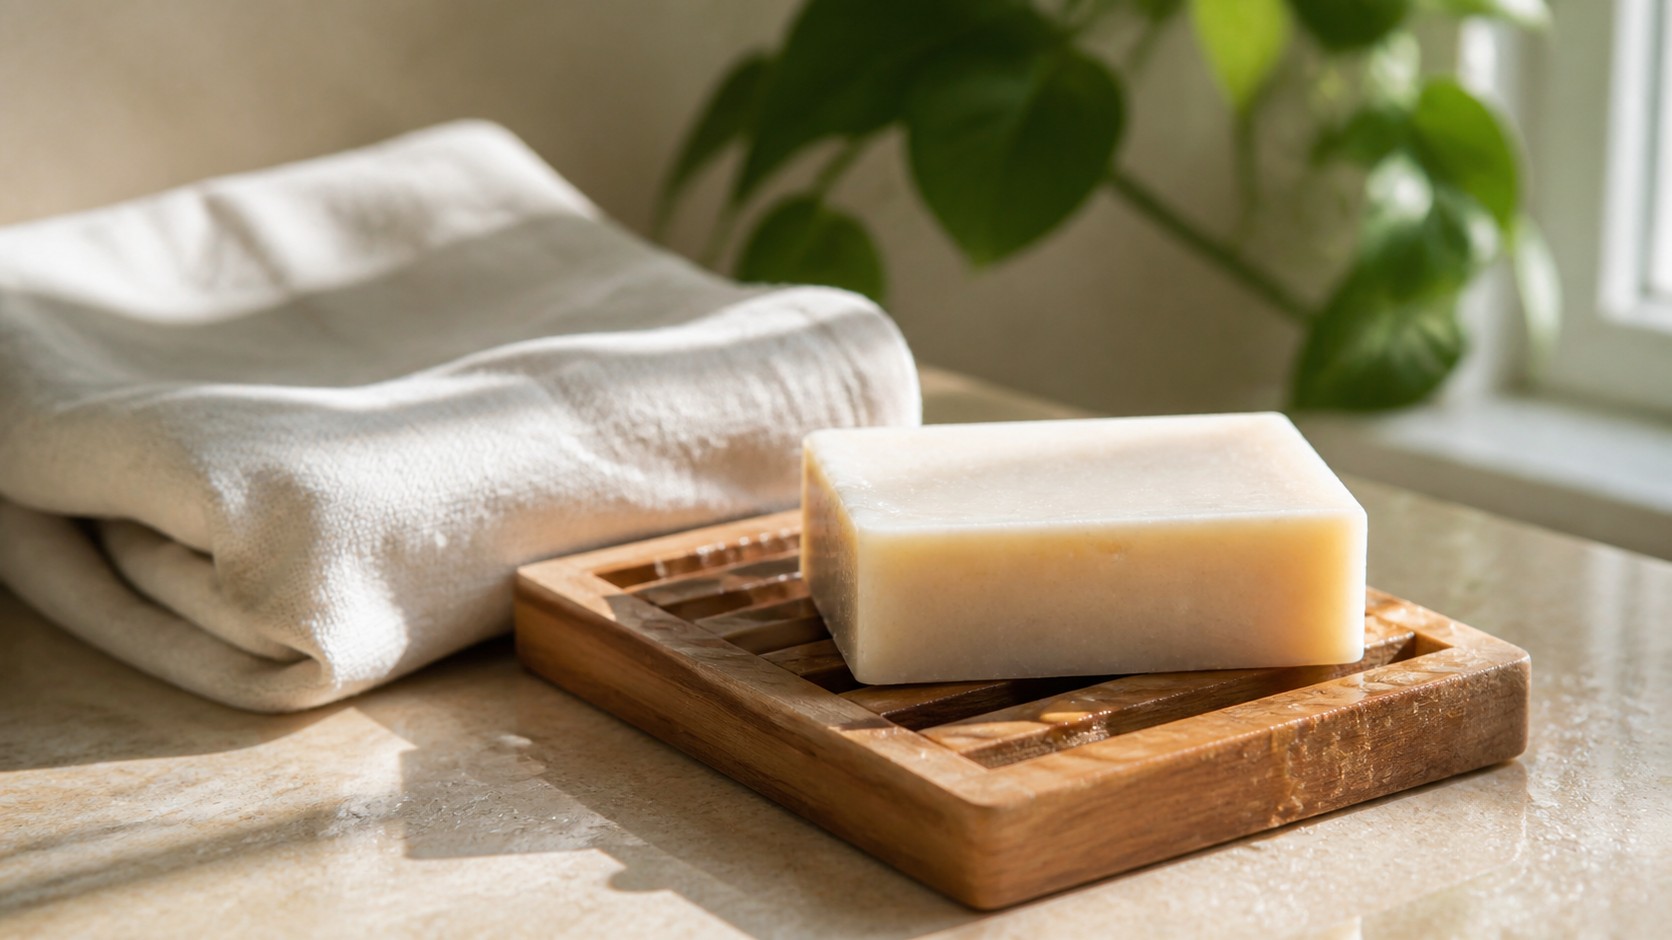
Handmade soap and humid weather can be an awkward little pairing. A beautiful bar that feels firm when you unwrap it may turn soft around the edges when it sits in a steamy shower, rests in pooled water, or never gets a proper chance to dry. The good news is that you do not need a complicated bathroom setup to keep handmade soap dry between uses.
A few simple habits can help your bar stay firmer, look tidier, and remain pleasant to use. Here is how to give handmade soap the airflow and drainage it needs, especially during warm, humid months.
Why Handmade Soap Gets Soft in Humid Weather
Soap naturally meets water every time you wash, but the time between uses matters just as much as the wash itself. When a wet bar sits on a flat surface or in a dish without drainage, water stays in contact with the bottom. In a humid bathroom, evaporation also happens more slowly because the air already holds plenty of moisture.
That combination can leave the surface softer than you would like. It does not mean the bar is poorly made. It usually means the soap needs a better place to rest.
Small-batch bars can vary slightly in shape, texture, and finish, which is part of their handmade character. If you are choosing a fresh bar for your routine, explore Plumera’s handcrafted bar soap collection and think about where the bar will live before the first use.
How to Keep Handmade Soap Dry: 7 Simple Tips
1. Choose a Dish With Real Drainage
A solid saucer may look lovely, but it can hold a shallow puddle under the soap. Look for a dish with slats, ridges, holes, or a raised center that keeps most of the bar away from standing water. The goal is simple: water should move away from the soap instead of collecting beneath it.
Place the dish where it will not catch the full spray of the shower. Even an excellent draining design cannot do its job if fresh water lands on the bar all day.
2. Give the Bar Air on Every Side
Airflow helps surface moisture evaporate. A rack, slatted dish, or breathable bag allows more of the bar to stay exposed than a flat shelf does. Avoid pressing the soap into a tight corner between bottles, where damp surfaces and limited air can keep it soft.
A sisal soap saver bag is also useful for small pieces that become difficult to balance on a dish. Hang the bag after use so it can drain freely rather than leaving it on the shower floor.
3. Move the Soap Away From the Shower Stream
The most convenient ledge is not always the best home for a bar. If the soap sits directly under the showerhead, it is being rinsed even when nobody is using it. Move it to a wall shelf, niche, or hook outside the strongest spray.
In a shared bathroom, check the spot from more than one shower angle. A shelf that stays dry during one person’s routine may be soaked during another’s.
4. Let the Bathroom Vent After Use
Running the exhaust fan or opening a window for a short time can help the whole room release steam. Leave the shower door or curtain partly open when practical so trapped moisture has somewhere to go.
This step is especially helpful in late summer, when warm outdoor air can make bathrooms feel humid before the shower even begins. You are not aiming for a perfectly dry room—just better circulation and less lingering steam.
5. Rotate Between Two Bars
If your bathroom stays consistently damp, try alternating between two bars. Use one while the other rests in a dry, well-ventilated place outside the shower. Giving each bar extra drying time can help it stay firm and makes it easy to enjoy two scent profiles without crowding the soap dish.
Keep the resting bar on a breathable surface rather than sealing it in a plastic container. If it is still wet, closed storage traps the moisture you are trying to release.
6. Keep Unused Bars Outside the Bathroom
The bathroom is convenient for active soap, but it is rarely the best storage room for extras. Steam, temperature changes, and splashes can reach unopened bars long before you are ready to use them.
Store backup soap in a cool, dry area with reasonable airflow, such as a linen closet shelf away from direct sunlight. For a fuller setup, read our guide to storing unopened handmade soap.
7. Save Small Pieces Instead of Letting Them Sit
As a bar gets thinner, it may hold more water, curl at the edges, or slip through a wide-slatted dish. Move those pieces into a draining soap saver bag, or let them dry before combining them with other small remnants.
A little organization keeps tiny pieces from collecting in a damp pile. It also helps you use more of every bar—a pleasingly practical win for both your shelf and your routine.
A Quick Humid-Weather Soap Setup
If you want the simplest possible plan, start with this four-step reset:
- Place the active bar on a raised, draining dish.
- Move the dish outside the direct shower stream.
- Vent the bathroom after bathing.
- Store unopened bars in a separate dry space.
Check the bottom of the dish every few days. Soap residue can block drainage channels over time, so a quick rinse and dry keeps the setup working as intended.
Small Habits Make a Better Bar Routine
Keeping handmade soap dry is less about perfection and more about giving water somewhere to go. Drainage, airflow, smart placement, and a little extra drying time can make a noticeable difference in how a bar feels from one use to the next.
Choose the tip that best fits your bathroom and start there. A slatted dish or a better shelf location may be all you need. When you are ready to refresh your soap routine, browse Plumera’s small-batch bars and accessories for simple, thoughtful everyday care.
Beauty Through Simplicity — better for you and better for the environment.