How to Use a Soap Saver Bag: A Simple Guide for Handmade Bars
-
Posted by
Allison Savino
A beautiful handmade soap bar deserves more than a damp corner of the shower. If your bar tends to slip from your hands, collect in small pieces, or sit in a puddle between uses, a soap saver bag offers a wonderfully simple answer.
This small woven pouch can add grip, create lather, hold little soap ends together, and give your bar a convenient place to hang. Better still, learning how to use a soap saver bag takes about as long as finding the drawstring. Here is how to make this practical accessory part of an easy everyday routine.
What Is a Soap Saver Bag?
A soap saver bag is a textured pouch designed to hold a bar of soap. Many are made from plant-based fibres such as sisal, although materials and textures vary. The open weave allows water and lather to move through the pouch while the drawstring keeps the bar contained.
Think of it as part washcloth, part storage helper, and part tiny-bar organizer. It is especially useful for handmade soap because it makes a smooth bar easier to hold and gathers the last pieces that might otherwise become awkward to use. Plumera’s collection of soap and bath accessories includes simple options designed to complement a bar-soap routine.
How to Use a Soap Saver Bag Step by Step
1. Place the Soap Inside
Slide a dry or slightly damp bar into the pouch and pull the drawstring closed. A full-size bar works well, but the bag is equally handy when several small soap pieces need one shared home. Avoid packing the pouch too tightly; a little room helps water circulate and makes the bag comfortable to move across the skin.
2. Wet the Bag Thoroughly
Hold the filled pouch under warm water for a few seconds. Gently squeeze and roll it between your hands to work water through the fibres and over the soap. This softens the bag’s texture and begins building lather without a great deal of effort.
3. Build the Lather
Rub the pouch between your palms until it produces the amount of lather you like. You can then move the bag over wet skin using light, comfortable strokes, or squeeze the lather into your hands and apply it from there. Let comfort be the guide: pressure should feel pleasant, not like you are sanding a dining table.
4. Rinse Well
After use, rinse the pouch under clean running water. Give it a few gentle squeezes until excess lather has washed away. There is no need to wring or twist the fibres aggressively, which can pull the pouch out of shape over time.
5. Hang It to Dry
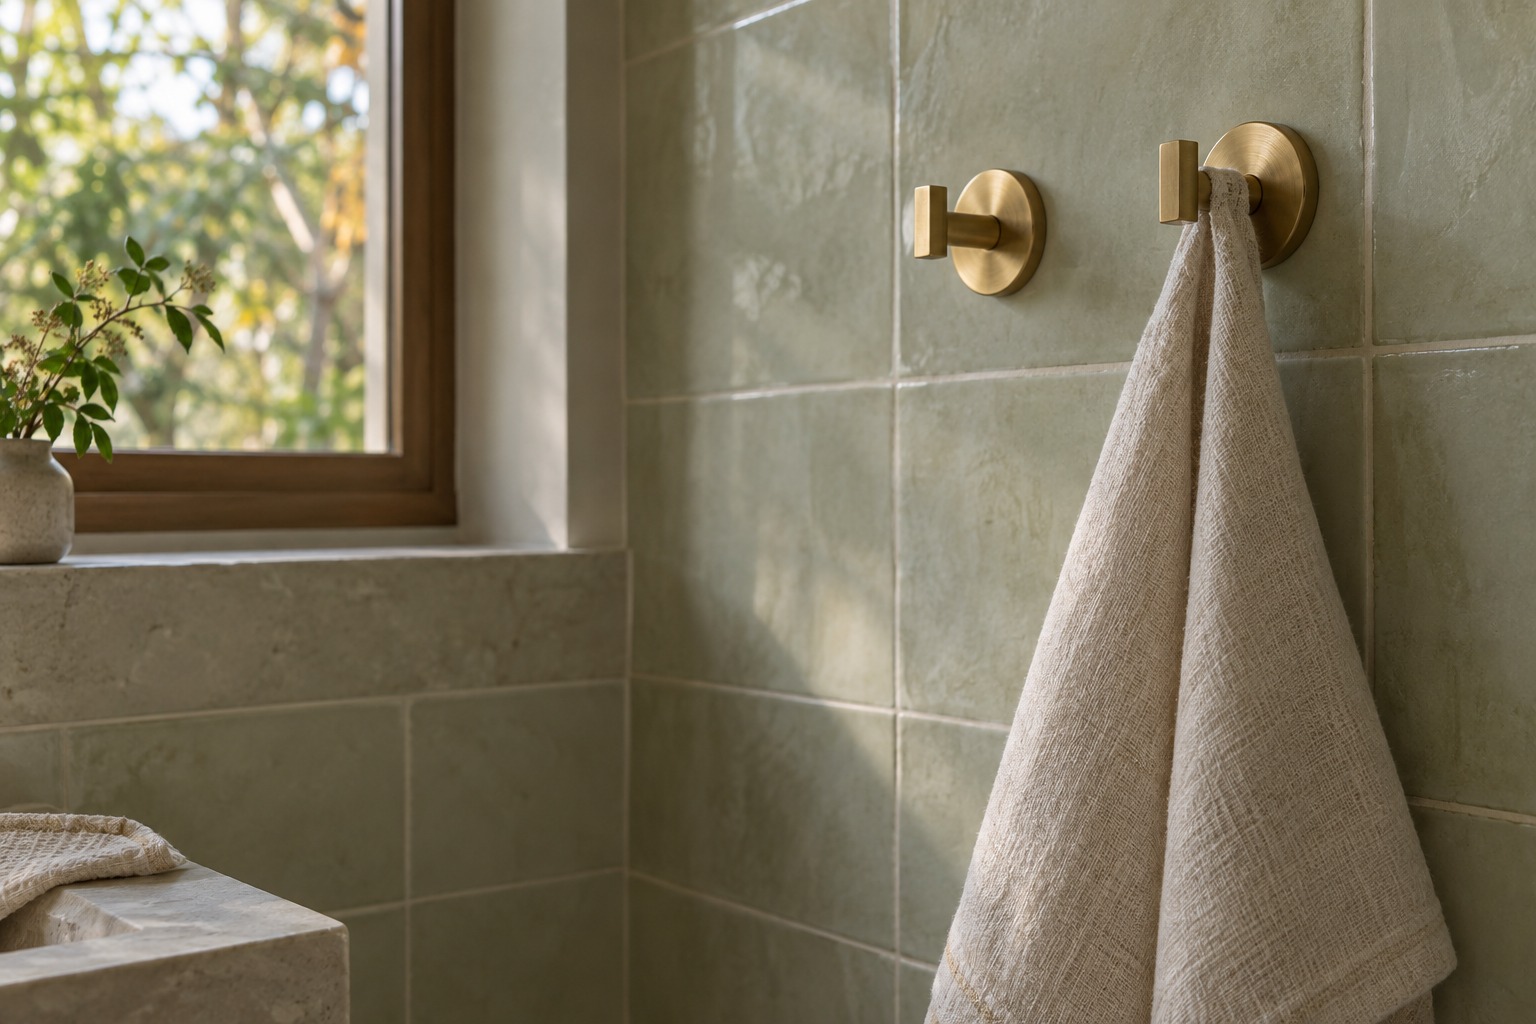
Use the drawstring to hang the bag where air can circulate around it. A shower hook or other dry spot away from pooling water is ideal. Hanging matters because a bar that dries between showers tends to stay firmer and tidier than one left on a wet ledge.
Should You Keep the Soap in the Bag?
You can keep the bar in the pouch between uses if the bag hangs freely and dries well. In a bathroom that stays humid, taking the bar out and setting it on a draining soap dish may give both pieces more breathing room. The right choice depends on airflow, shower habits, and how quickly the area dries.
Whichever method you choose, the essential idea is simple: keep the bar out of standing water. Explore Plumera’s small-batch handmade bar soaps and pair a favorite scent with a drying setup that suits your space.
How to Use Up Small Soap Pieces
The final slivers of a handmade bar can be difficult to hold, but they are still useful. Place several dry or damp pieces in the soap saver bag, close the drawstring, and use the pouch as usual. The mesh keeps the pieces together while water reaches them, letting you enjoy the bar down to its last practical bit.
This is where the “saver” part truly earns its name. Instead of balancing a paper-thin piece between two fingers, you get one easy-to-grip pouch. It is a tidy little system with no elaborate countertop choreography required.
How Often Should You Clean a Soap Saver Bag?
Rinse the bag thoroughly after every use and give it a more complete wash regularly, following the care directions for its material. For many natural-fibre bags, hand washing with warm water and a simple soap is an easy option. Rinse well, reshape gently, and hang it open until completely dry before adding a bar again.
If the pouch develops a lingering scent, feels overly soft, or no longer dries well, let it rest empty and wash it before the next use. Natural fibres gradually show wear, so replace the bag when the weave loosens significantly or the drawstring no longer closes securely.
Soap Saver Bag or Soap Dish?
You do not necessarily have to choose. A soap saver bag adds texture and grip during a shower, while a draining dish gives a bare bar a stable place to rest afterward. In a drier bathroom, hanging the filled pouch may be all you need. In a steamy shared bathroom, removing the bar and placing it on a dish can be a useful extra step.
Both accessories support the same goal: a clean, uncomplicated setup that gives water somewhere to go. If you are refining the rest of your bathroom routine, our low-waste shower routine guide offers more practical ideas without turning the shower into a sustainability exam.
A Few Easy Soap Saver Habits
- Use gentle pressure: the woven texture does the work without vigorous scrubbing.
- Keep the drawstring secure: this keeps a slippery bar from making a dramatic escape.
- Rinse after each shower: a quick rinse keeps the pouch feeling fresh and ready.
- Prioritize airflow: hang the bag where all sides can dry rather than against a wet wall.
- Rotate when helpful: a second clean, dry bag can be useful in a busy household.
Make Every Bar Easier to Enjoy
A soap saver bag is a small accessory, but it can make a noticeable difference in how a handmade bar fits into daily life. It adds grip, gathers little pieces, builds satisfying lather, and creates an easy hanging option—all without adding another complicated step.
Choose a pouch with a texture that feels comfortable, pair it with a Plumera handmade soap, and remember the one rule that matters most: rinse it, hang it, and let it dry. Beauty Through Simplicity can be as straightforward as that.