How to Clean a Soap Dish: 6 Simple Steps for a Fresher Sink
-
Posted by
Allison Savino
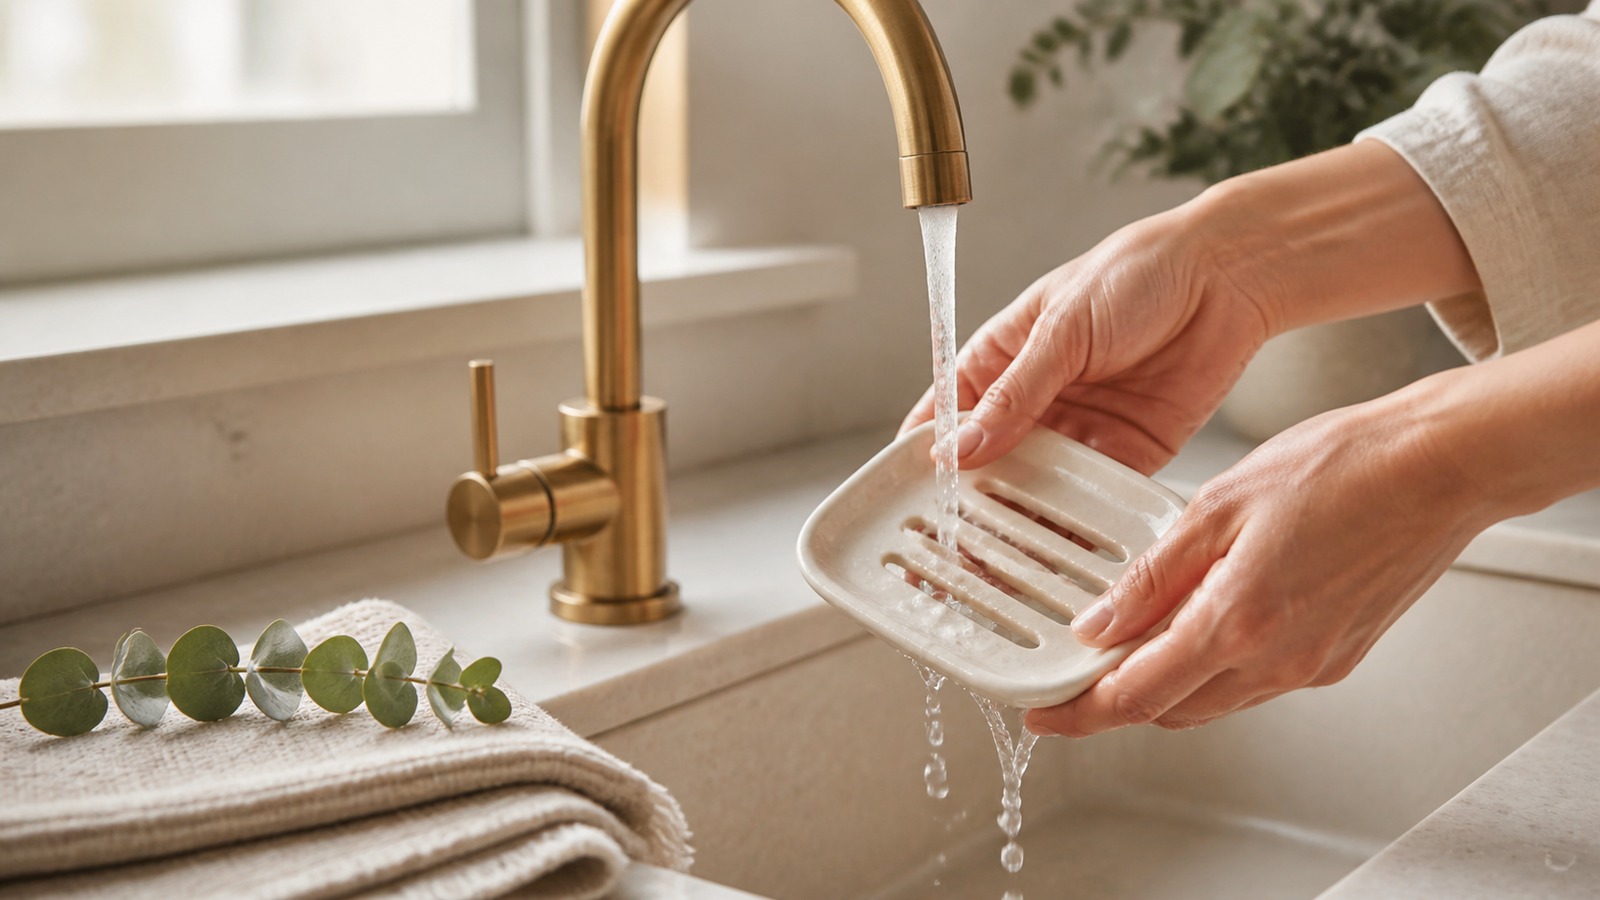
A soap dish does quiet work every day: it keeps a bar within reach, gives water somewhere to go, and helps the sink or shower look intentional. It also collects softened soap, water spots, and the occasional mysterious bathroom speck. A quick rinse helps, but a simple weekly clean keeps the dish looking fresher and gives your handmade bar a drier place to rest.
The good news is that this is not a major bathroom project. In most homes, five to ten minutes is enough. The right method depends on whether your dish is ceramic, glass, metal, silicone, or wood, so begin by checking the material before reaching for the nearest scrub brush.
Why a clean soap dish matters
A well-designed dish supports airflow and lets excess water move away from the bar. When softened soap builds up across ridges, slots, or drainage holes, that useful design cannot work as neatly. The bar may stay damp longer, and the sink-side setup can begin to feel cluttered even when everything else is tidy.
Cleaning the dish regularly is also a small way to get more enjoyment from your handmade bar soap routine. The scent, texture, and shape of a beautiful bar deserve better than a puddle of yesterday’s lather.
How often should you clean a soap dish?
For a dish used every day, a light weekly clean is a practical rhythm. Give it attention sooner if water stops draining freely, the surface feels slippery, or visible soap residue begins filling the grooves.
A quick rinse between deeper cleans can make the weekly job easier. If several people use the same sink or the bathroom stays humid, you may prefer to clean the dish every few days. The goal is not perfection; it is keeping drainage open and the surface pleasant.
How to clean a soap dish in 6 simple steps
1. Move the soap bar to a dry spot
Set the bar on a clean, dry washcloth or a second draining surface while you work. Avoid leaving it directly on the counter, where it can soften and leave residue behind. If the bar is already damp, give it a little breathing room rather than wrapping it or placing it in a closed container.
2. Remove loose soap residue
Use a damp cloth, a soft brush, or the edge of a silicone scraper to lift away softened soap. Start gently, especially around glazed finishes, painted details, metal coatings, and wooden edges. A few patient passes are better than an aggressive scrape that leaves a mark.
If residue has dried into the drainage slots, hold a ceramic, glass, metal, or silicone dish under warm water briefly to loosen it. Do not automatically soak a wood dish; follow the maker’s care guidance and use as little water as the job requires.
3. Wash according to the material
For most ceramic, glass, metal, and silicone dishes, warm water and a small amount of mild dish soap are enough. Wipe every surface, including the underside, feet, ridges, and drainage holes. Use a soft toothbrush for narrow corners where a cloth cannot reach.
For wood, work with a damp cloth and a small amount of mild soap if the care instructions allow it. Wipe rather than soak, and keep the cleaning session brief. Plumera’s handcrafted alder wood soap dish shows how raised wooden construction can create airflow while adding a warm, natural detail to the sink.
4. Rinse thoroughly
Rinse away loosened residue and cleaning suds. Check the slots from both sides; a dish can look clean from above while a little soap remains underneath. For a wood dish, use a clean damp cloth to remove remaining suds instead of holding it under running water longer than necessary.
5. Dry the dish completely
Shake away excess water, then dry the dish with a clean towel. Let it finish air-drying in an open spot before returning it to the sink or shower. Pay special attention to the underside and any small feet, since trapped moisture can make the counter look untidy.
Wood dishes benefit from generous airflow. Stand the dish on its side while it dries so both the top and bottom are exposed. Do not return a damp dish to a wet ledge and expect a tiny bathroom miracle. Even excellent design appreciates cooperation.
6. Reset the bar with room to drain
Once the dish is dry, place the soap bar across the raised ridges or slots rather than wedging it into a corner. Make sure the drainage path is not blocked by a washcloth, bottle, or the edge of the sink.
If your setup needs more flexibility, compare the everyday uses of a dish and a bag in our guide to soap saver bags versus soap dishes. A dish gives a full bar a steady place to rest, while a saver bag can be handy for collecting smaller pieces.
What not to do when cleaning a soap dish
- Do not use a harsh abrasive by default. Rough powders and stiff tools can scratch glossy surfaces or change a wood finish.
- Do not assume every dish is dishwasher-safe. Check the maker’s instructions, especially for wood, decorated ceramic, coated metal, or mixed materials.
- Do not soak wood unnecessarily. A quick wipe and thorough air-dry are usually the more sensible approach.
- Do not put a wet bar back on a wet dish. Let the dish dry first and keep the drainage slots open.
- Do not forget the counter underneath. Wipe and dry the landing spot before resetting the dish.
How to keep the dish cleaner between washes
A few small habits reduce buildup. Position the dish away from the direct shower stream when possible. After using the bar, place it across the raised surface rather than flat against a solid edge. During the weekly bathroom reset, lift the dish, rinse away fresh residue, and dry the counter underneath.
If two bars are in rotation, give each one enough space instead of stacking them. A simple setup works best: open drainage, steady airflow, and fewer objects crowding the area.
A five-minute reset for a better sink-side routine
Knowing how to clean a soap dish is not glamorous, but the result is. The bar sits neatly, the drainage works as intended, and the whole sink looks more polished with very little effort.
Add the dish to your weekly towel-change routine and the habit becomes nearly automatic: move the bar, wipe the dish, rinse, dry, and reset. Then explore Plumera Essentials for small-batch soaps and thoughtfully made accessories that bring Beauty Through Simplicity to everyday care.