How to Set Up a Soap Gift-Wrapping Station at Home
- Posted by
Allison Savino
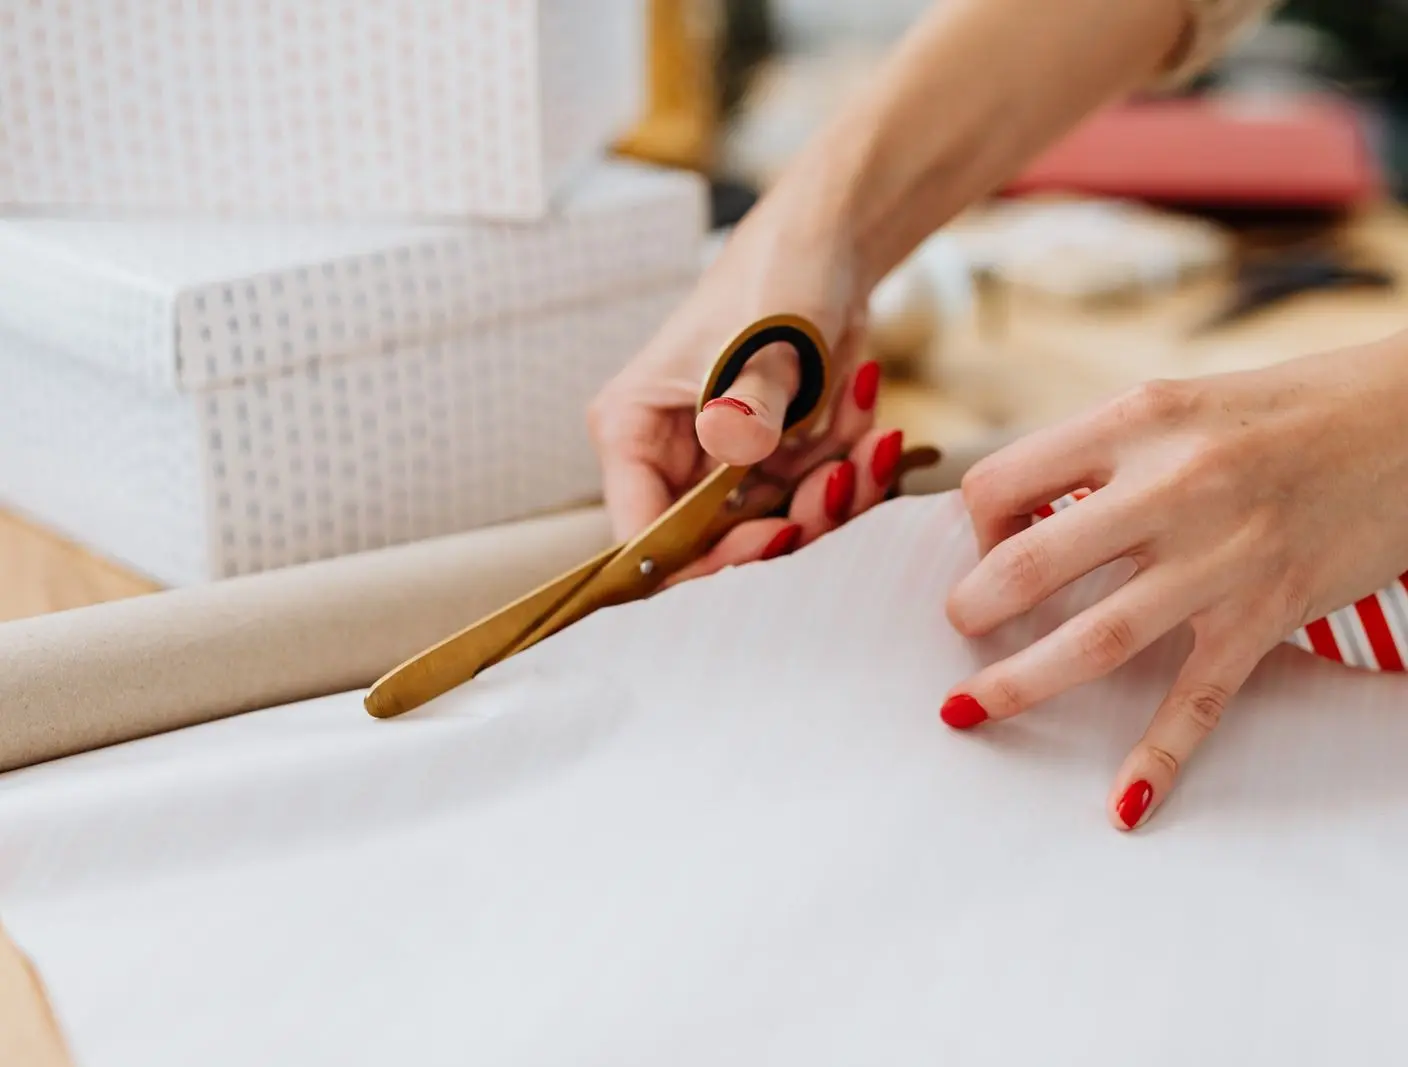
The gift is chosen. The paper is somewhere in a closet. The scissors have apparently started a new life in another room. If that sounds familiar, a small soap gift-wrapping station can make holiday preparation feel much easier.
You do not need a craft room or a cart full of supplies. A clear tabletop, a short checklist, and one place for finished gifts are enough. This guide focuses on organizing the work, rather than buying more decorations: a practical approach for wrapping a few handmade soap gifts before November calendars begin to fill.
What Belongs in a Soap Gift-Wrapping Station?
Think of your station as a temporary workspace with a beginning, a middle, and an end. Unwrapped gifts arrive on one side, wrapping happens in the center, and completed gifts move to the other side. That simple flow makes it easier to keep names, scents, and product information together.
Gather only the supplies your chosen presentation needs:
- The gifts in their original packaging, with product labels intact.
- Clean wrapping paper or reusable fabric you already own.
- Scissors and your preferred fastening material.
- Ribbon or string, if you want a finishing detail.
- Gift tags, a pen, and a recipient checklist.
- A shallow tray for small tools and a separate box for completed gifts.
Choose one paper and one ribbon before you start. A consistent palette looks thoughtful, and fewer choices mean less time spent comparing two nearly identical shades of cream.
Start With the Gifts, Not the Wrapping Supplies
Set out the actual items before cutting anything. A single bar, a boxed assortment, and a soap-and-accessory pairing need different amounts of space. Check each gift against your recipient list, then keep its tag beside it until wrapping is complete.
If you are still choosing the contents, browse Plumera’s handmade bar soaps and use the current product description to confirm the scent and size. Choose for the recipient’s preferences rather than the color of your wrapping paper. Presentation should follow the gift, not make the decision for it.
For an existing boxed selection, see whether its own packaging already provides the structure you need. A ribbon and note may be enough. You do not have to put every attractive box inside another box.
Make Three Small Zones on One Table
1. A ready-to-wrap zone
Place checked gifts on a clean, dry surface with their matching tags. Keep original product information with each item, even when decorative outer paper will cover it temporarily. Avoid removing labels simply to make everything match.
For several similar gifts, use small temporary slips beside the packages to identify recipients. Move one gift at a time into the work area so the names do not migrate halfway through the session.
2. A clear wrapping zone
Leave enough room to turn the largest gift without knocking over tools. Keep drinks, food, and wet craft materials elsewhere. Decorative fragrance sprays and loose glitter are unnecessary here; the soap already has its own character.
Test the paper fit around one gift before cutting pieces for the rest. If the boxes are identical, use that first successful sheet as a guide. If their sizes vary, measure each separately rather than assuming the same piece will work.
3. A finished-gift zone
Tie on the recipient tag as soon as the gift is wrapped. Then move it out of the central workspace and mark it complete on your list. This keeps finished parcels from being mistaken for items that still need attention.
Use a clean container that holds the gifts without squeezing bows or bending corners. Keep the container away from damp areas and direct heat, following any storage directions provided with the products.
Choose a Wrapping Method You Can Repeat
The best method is one you enjoy enough to use more than once. A simple paper fold, a fabric knot, or a ready-made gift bag can all look polished. You do not need a different technique for every person on your list.
If you prefer folded paper and a ribbon finish, our guide to wrapping handmade soap without tape offers a separate presentation approach. Practice with one package first, then arrange your tools around the method you actually plan to use.
Let reusable materials stay reusable: a gently tied ribbon is easier to save than a glued decoration. Use clean supplies in good condition, but skip broad promises about sustainability. The practical goal is to use what you have thoughtfully and avoid unnecessary layers.
Keep Product Details Easy to Find
A gift should be pleasant to open and straightforward to use. Leave the original ingredient list, directions, and product identity with the item. Decorative tags can carry the recipient’s name and your personal message without replacing that information.
If several products share one outer bag, arrange them so the recipient can still identify each one after opening it. Do not invent a combined ingredient list or add your own benefit claims. A note such as “A little something for your everyday routine” is warm, simple, and enough.
Pack the Station Away Before It Takes Over
When the session is finished, return scissors and pens, roll up usable paper, and keep ribbon lengths together. Save only offcuts that are large enough for a realistic future use. A small supply box is easier to revisit than a bag of tangled possibilities.
Give finished gifts a designated place and keep your checklist with the supplies. If another gift arrives later, you can reopen the station without starting from scratch.
Looking for a coordinated starting point? Explore Plumera’s Plumera Box gift selections, check the listed contents, and choose the presentation that fits your plans. Thoughtful gifting can be simple: a useful gift, clear information, and a little care in the final fold.